Cascade de la Billaude Waterfall Hike in Jura, France (complete guide)
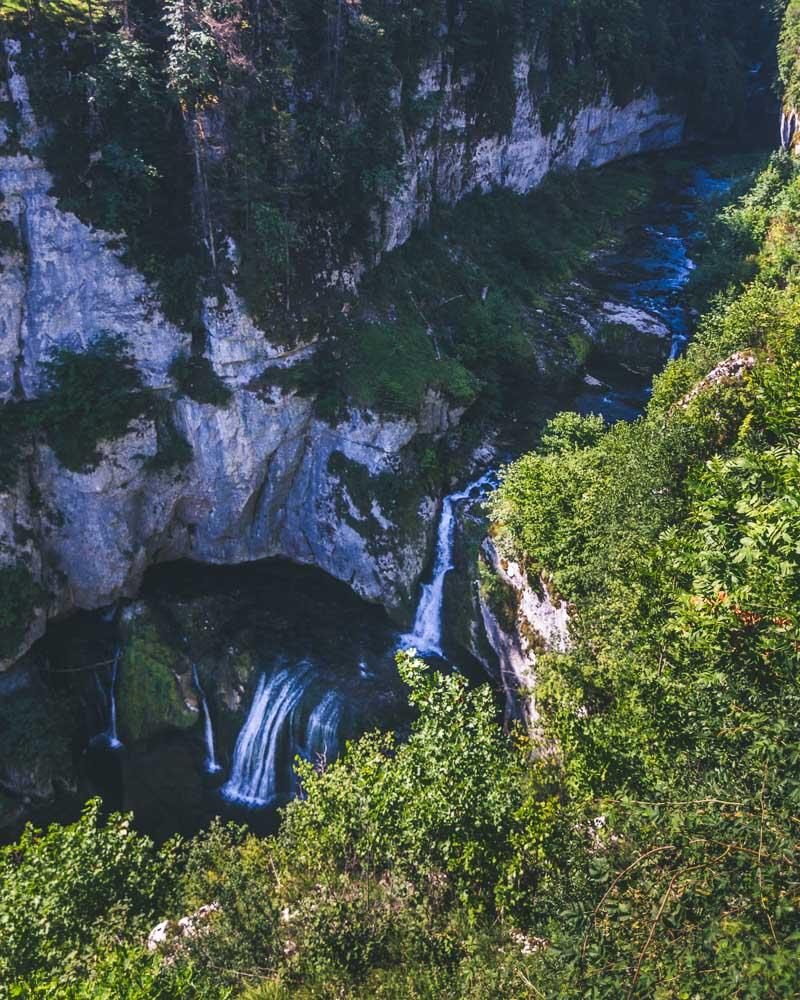
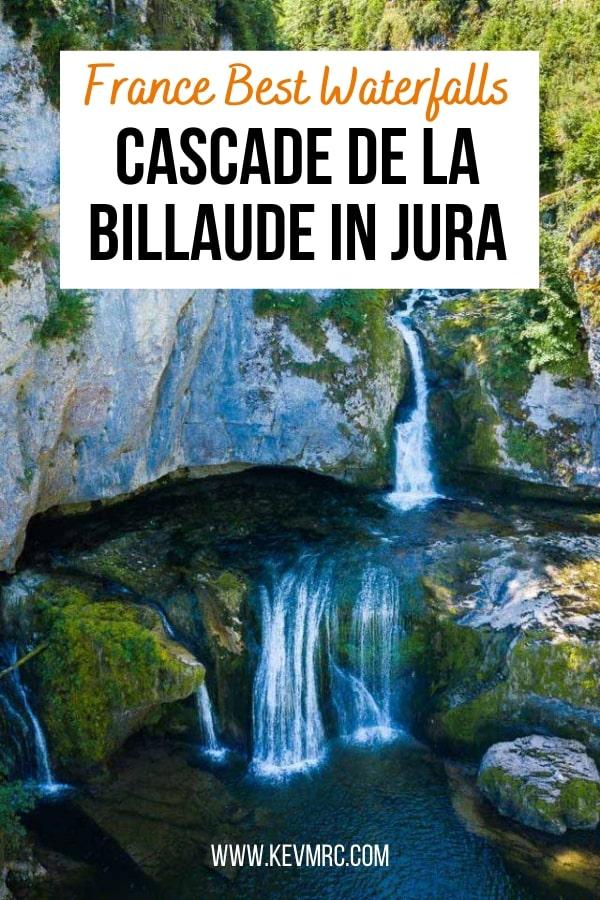
The Cascade de la Billaude in Jura is a double waterfall, and definitely one of the most beautiful waterfalls in Jura.
There are multiple viewpoints to see the waterfall from above, and you can even hike all the way down to the waterfall itself.
Let’s see how to get to it.
How to Get to Cascade de la Billaude
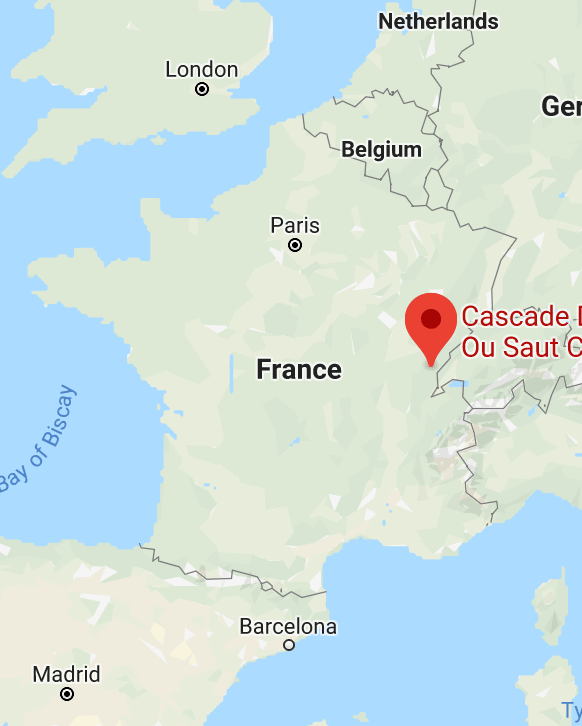
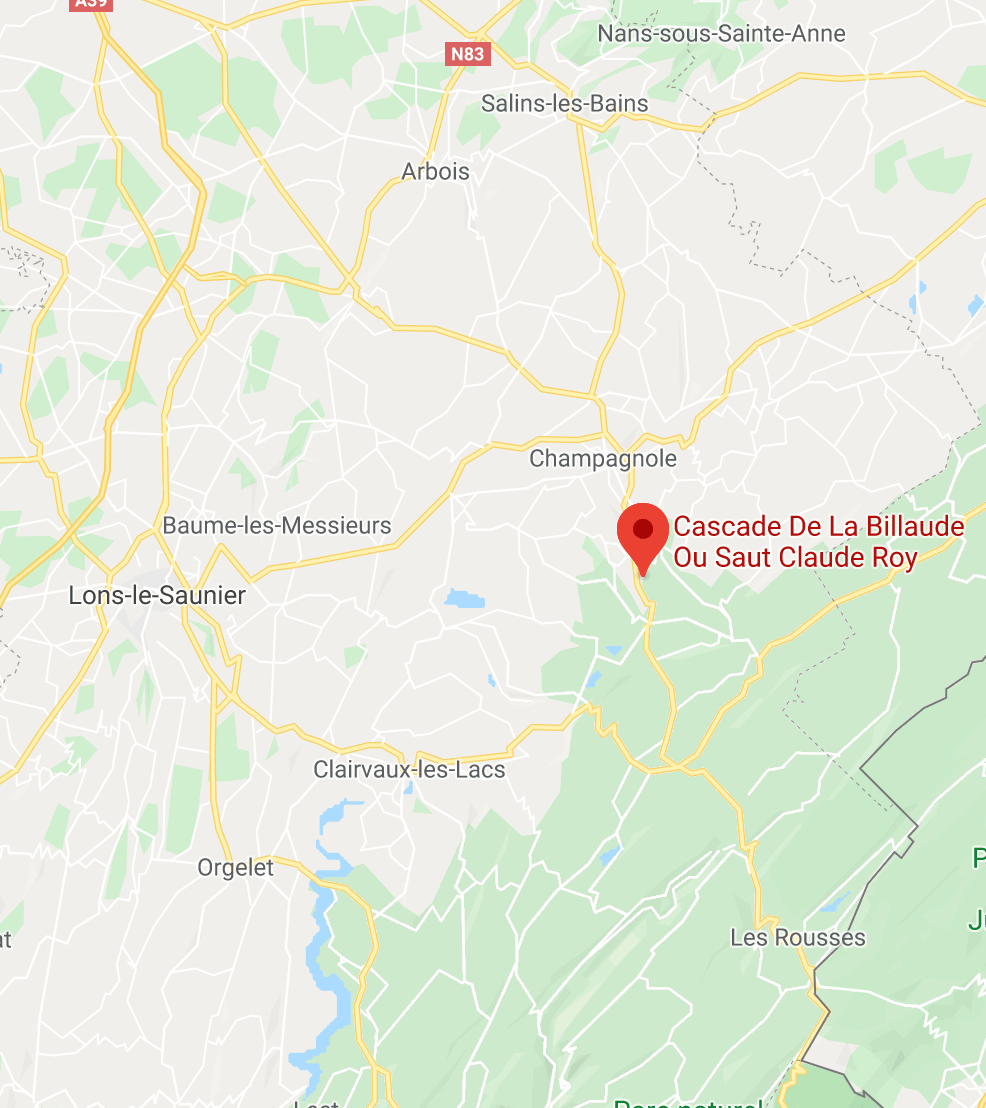
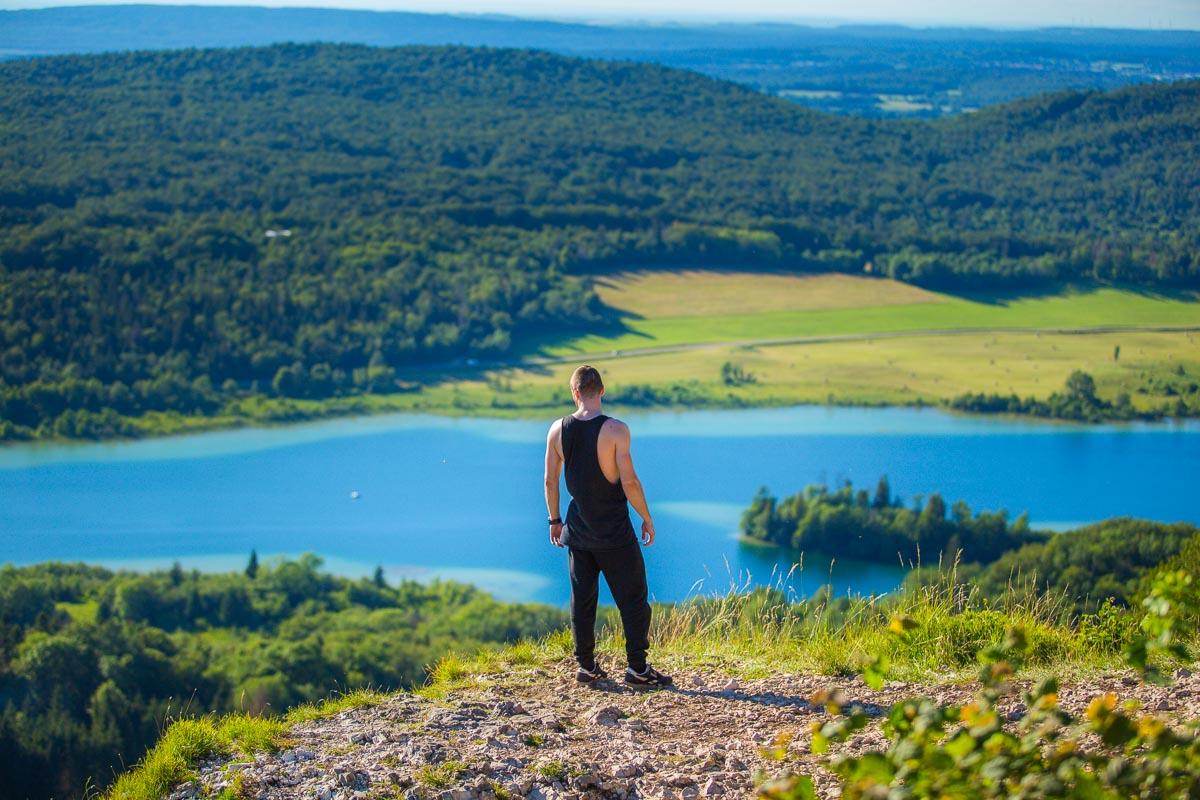
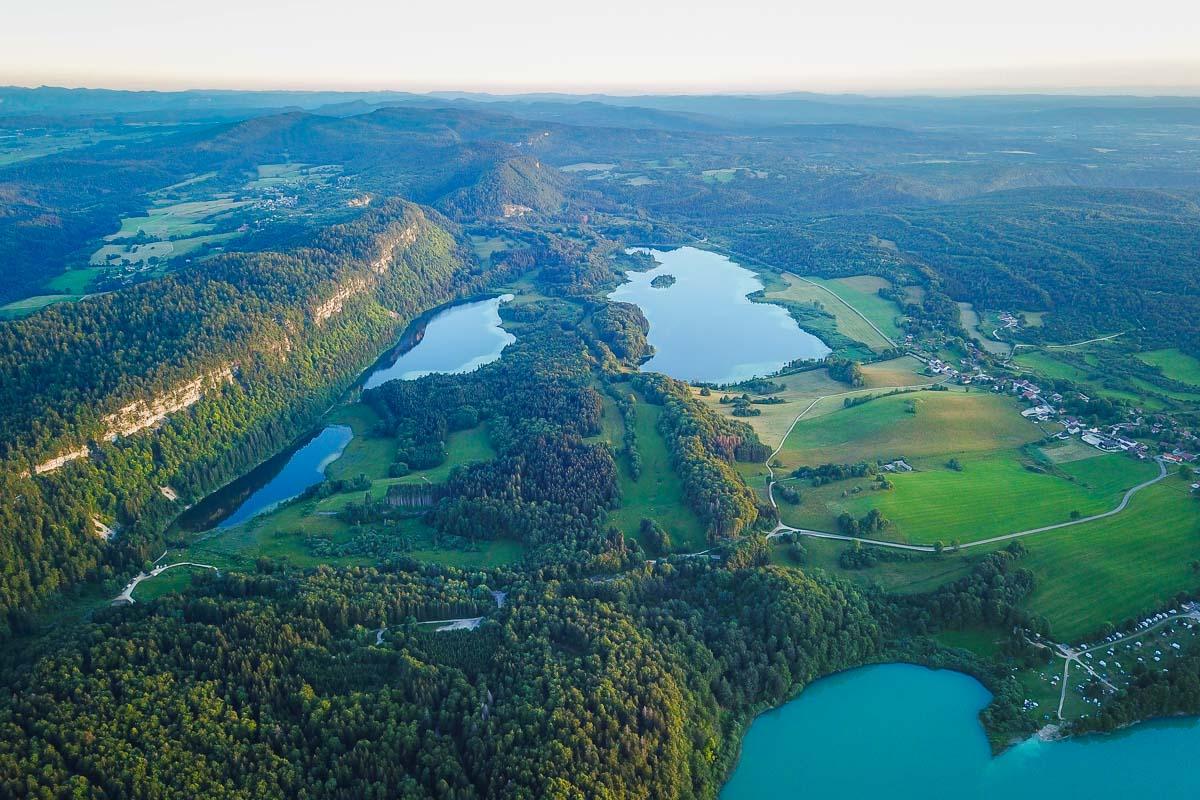
The Cascades de la Billaude, also known as the Saut Claude Roy, is located in the East of Jura, right above the 4 lakes.
Location: Google Maps
It’s around 10mn drive from Champagnole, and 40mn from the department capital Lons-le-Saunier.
There’s a large parking spot on the side of the road, and you’ll find plenty of signs indicating the way to the waterfall and to the first viewpoint.
How to See the Billaude Waterfall
You have 2 options to see the Billaude waterfall:
- see it from the top
- see it from up close
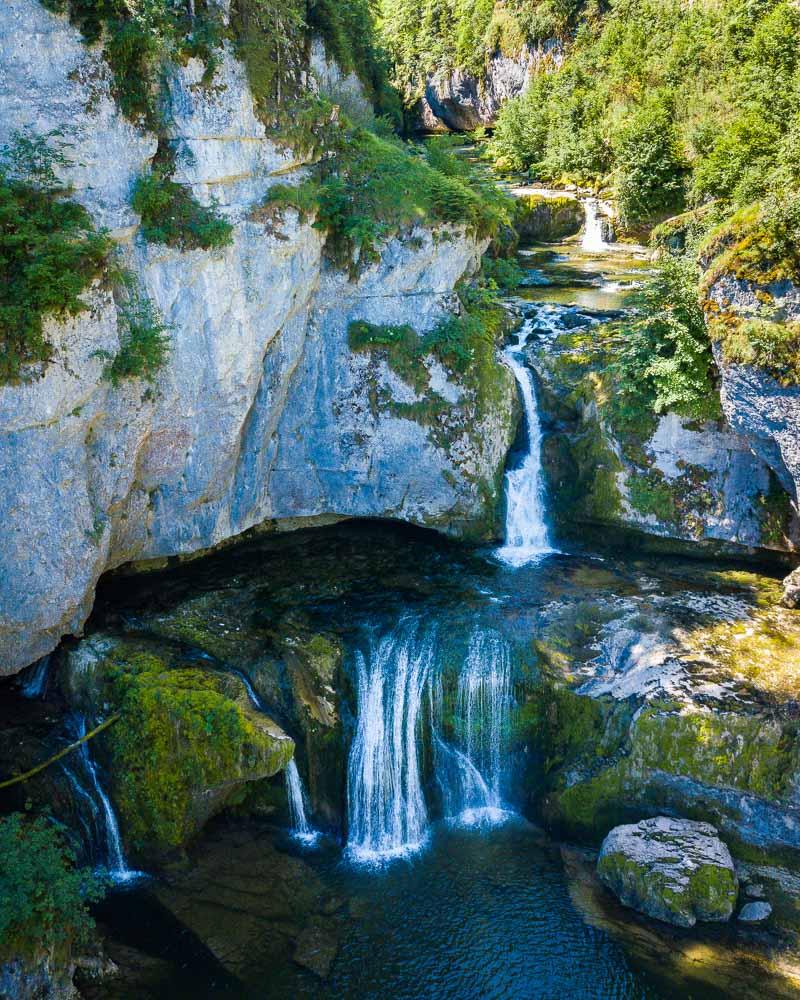
See it from the top
To see the waterfall from the top, it’s pretty straightforward.
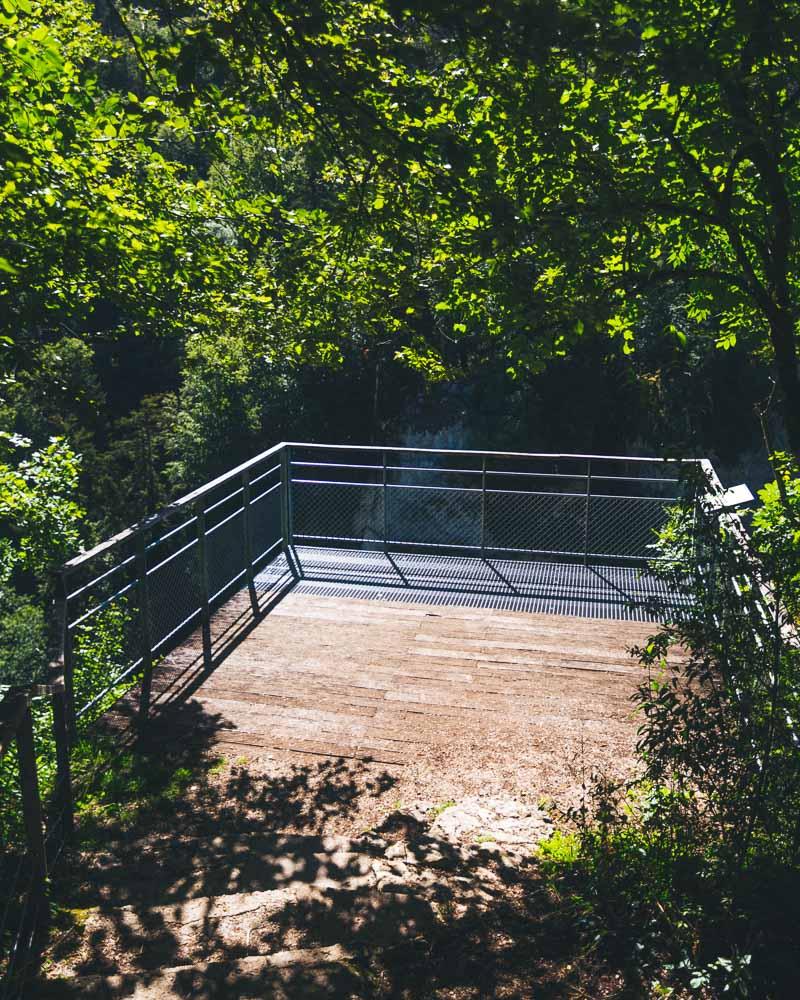
Cross the road in front of the parking, and you’ll see a dirt trail heading down in the forest in front of you. You can’t miss it, there are signs pointing this way, and a wooden rail guiding the path.
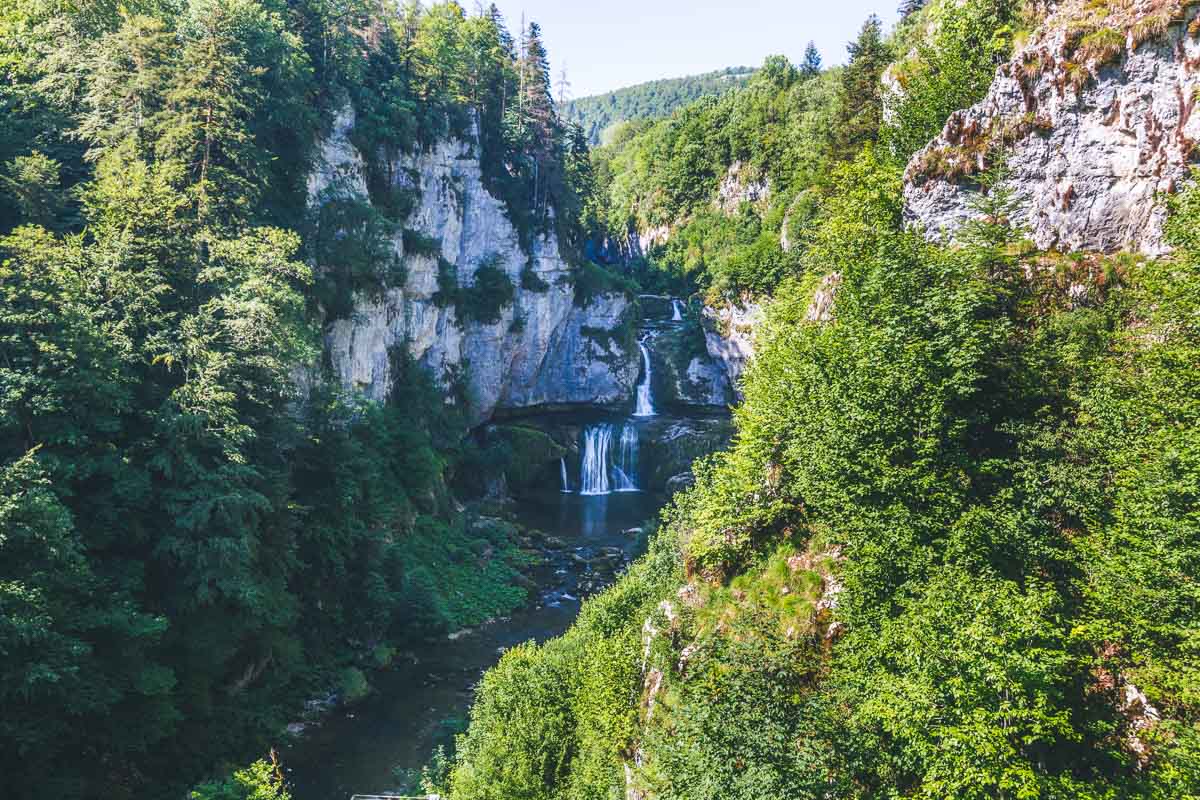
This will lead you to the 1st viewpoint, where you’ll see the waterfall from above.
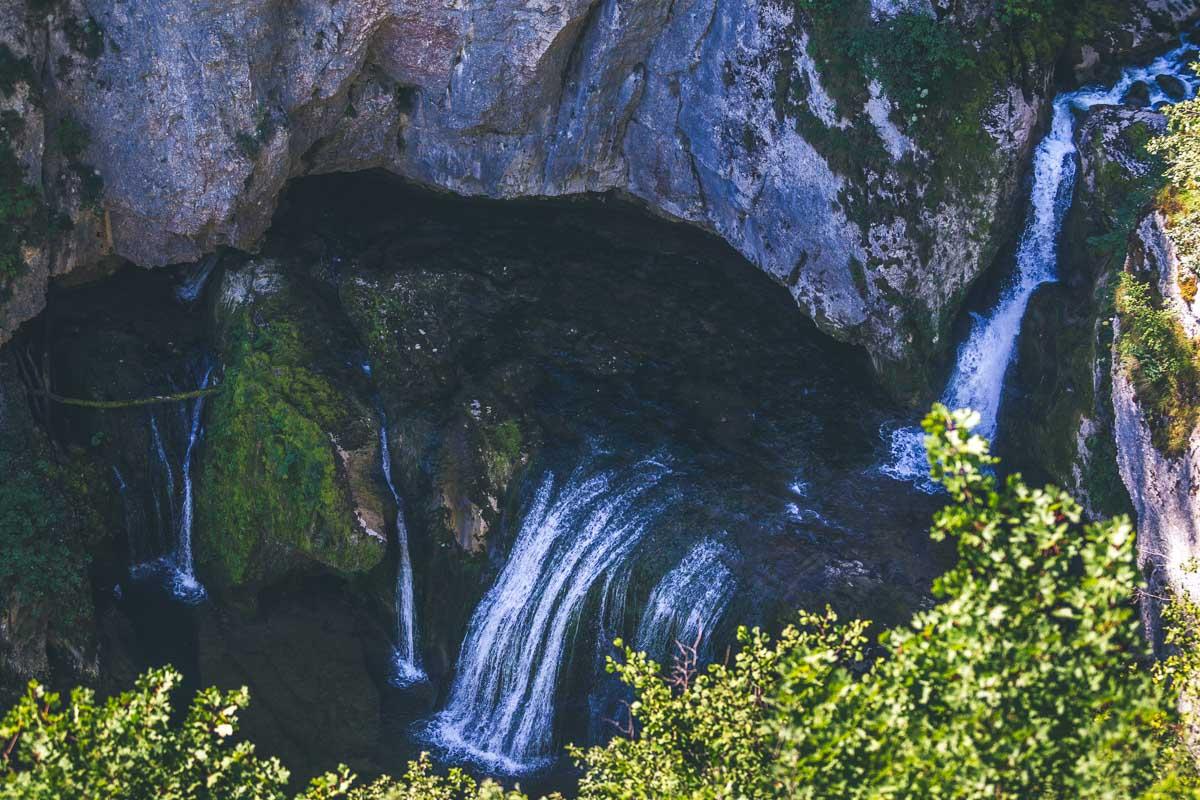
See it from up close
The second option is to see the waterfall from up close. For this, you’ll need to hike down: you’ll find details of the hike below.
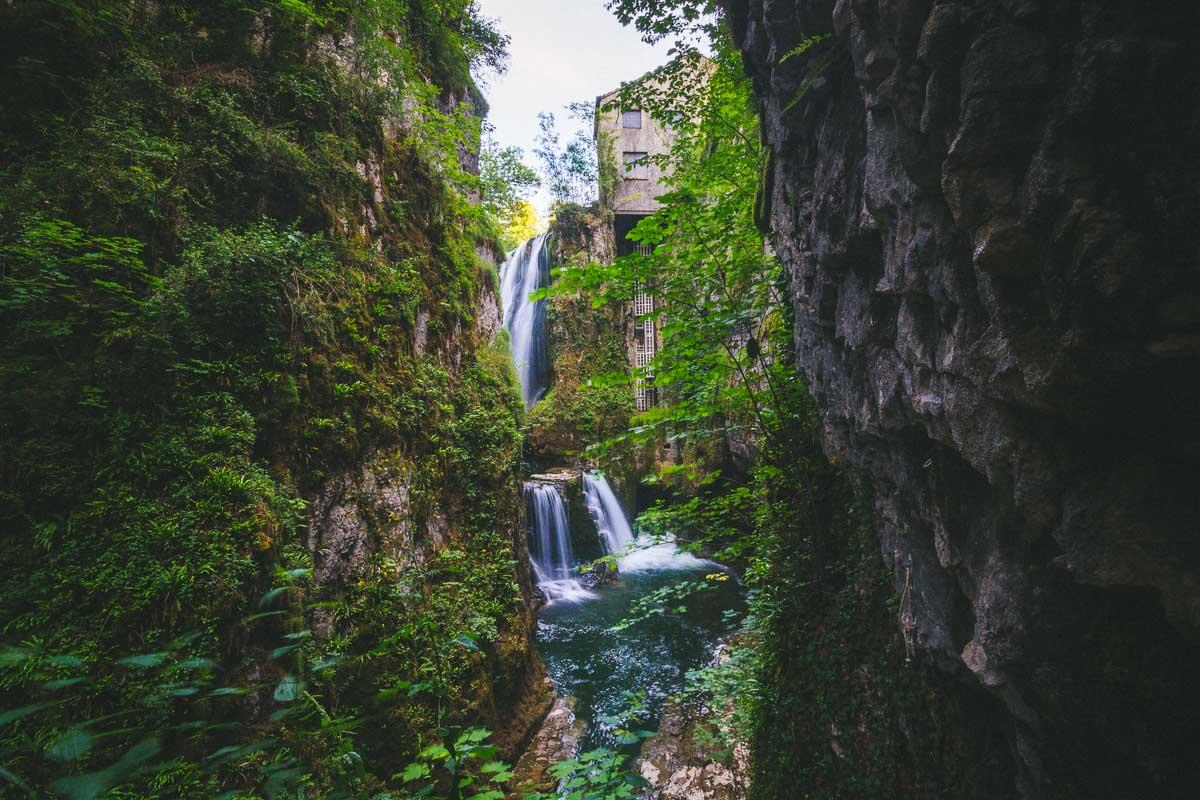
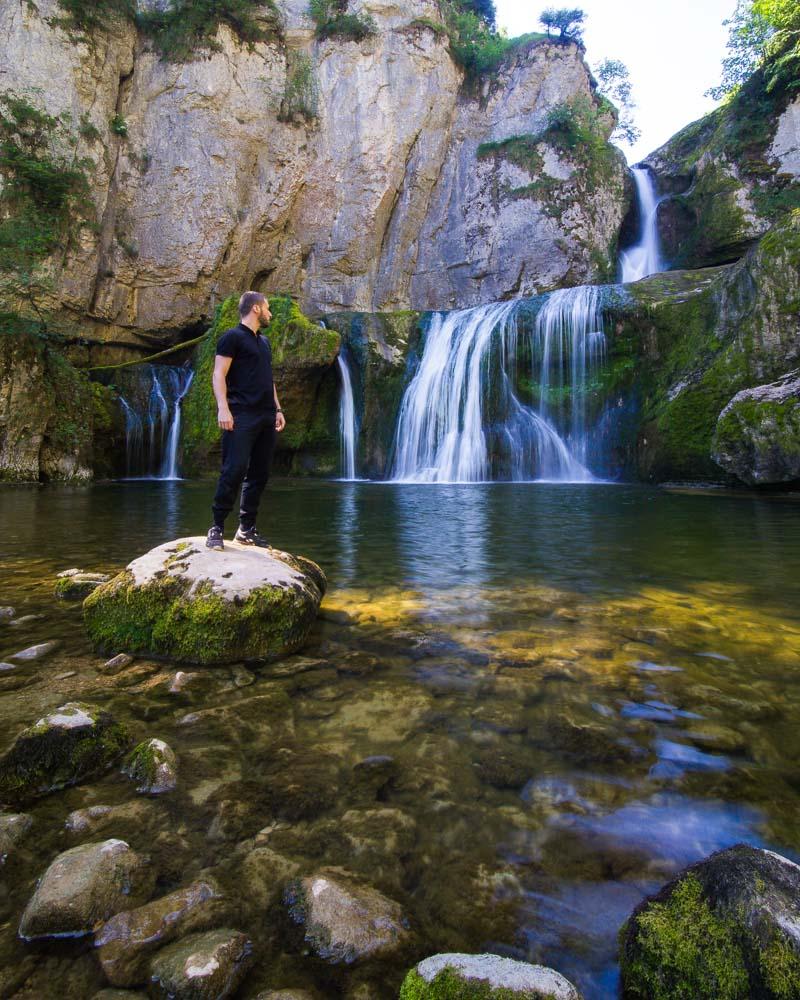
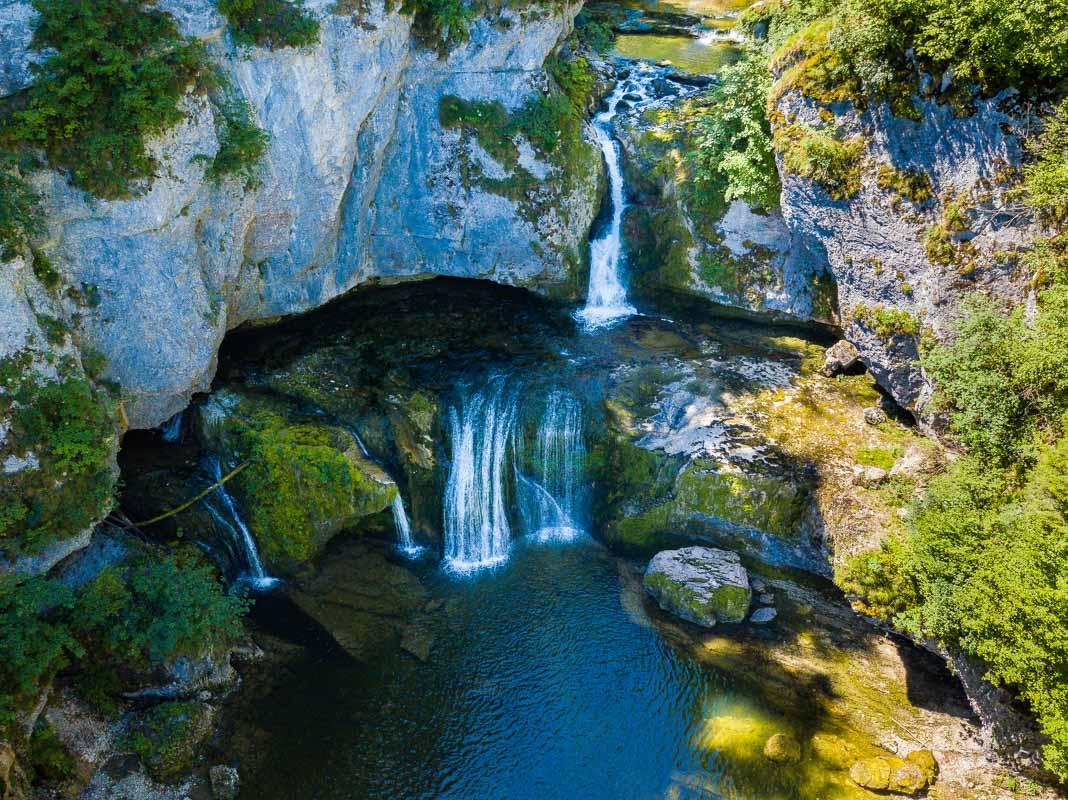
Here’s the view you can expect:
Cascade de la Billaude Hike Details
There’s a trail going all the way down to the waterfall, which gets you as close as you can see on the picture above. Here are the details of the hike:
Cascade de la Billaude Hike
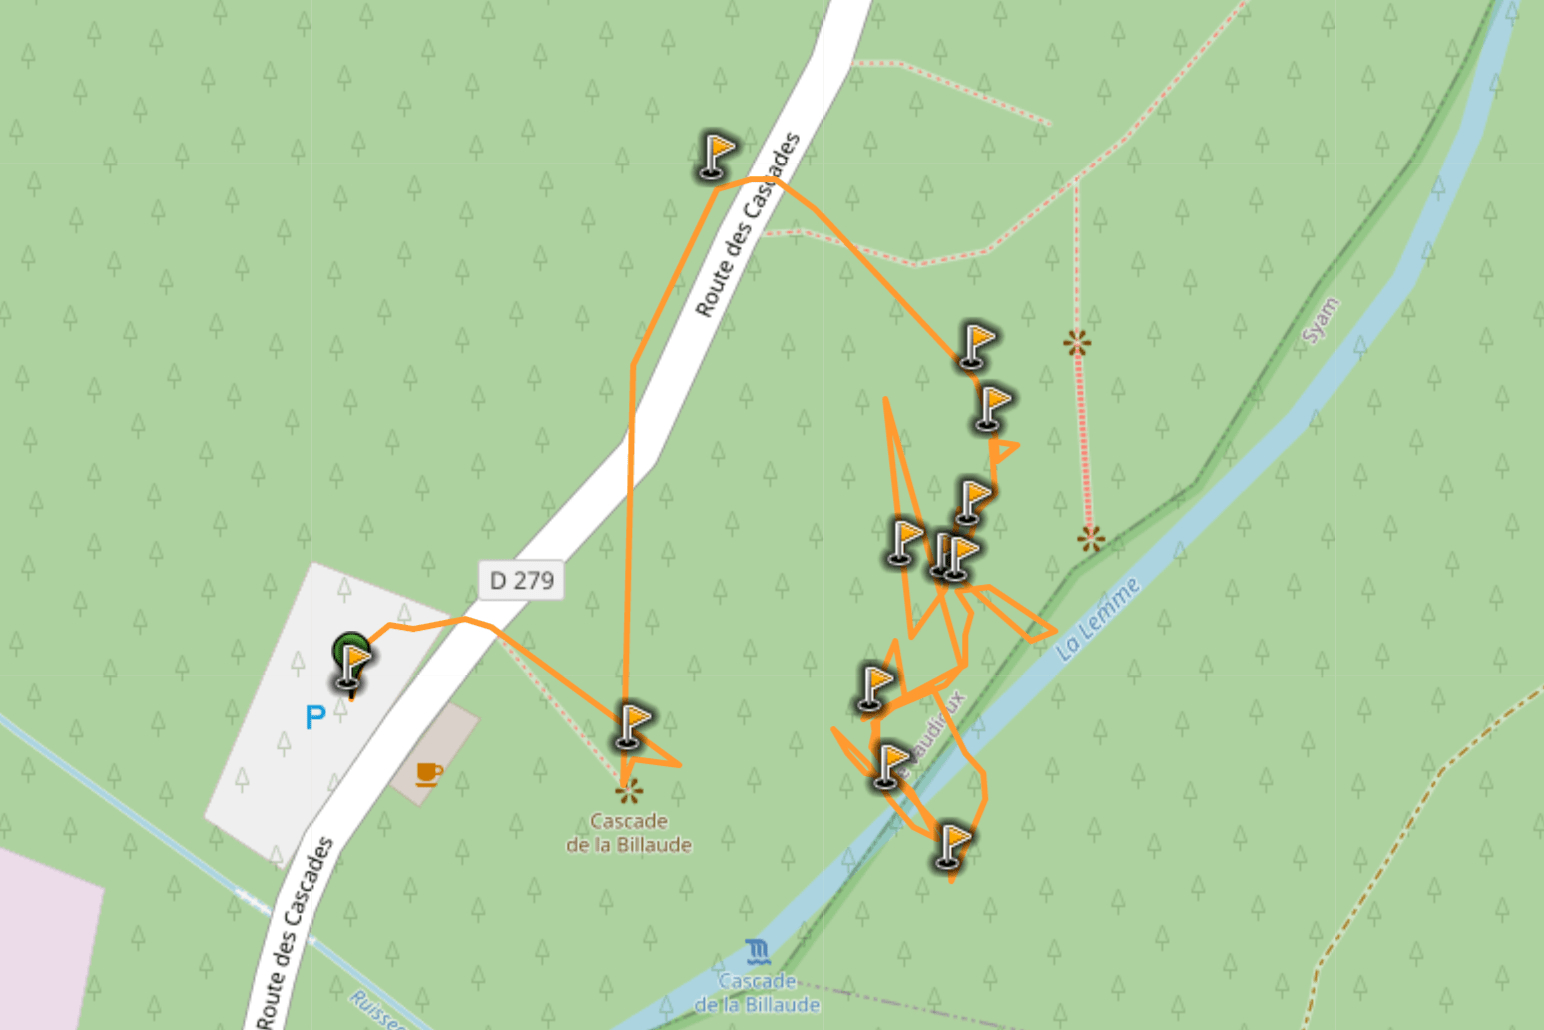
Hike distance: The distance of the hike is 0.8km / 0.5 miles including the return trip (it’s a loop).
Hike duration: If you simply go down & back up, it will take you around 45mn. Plan around 2h for the whole experience, including stops at the viewpoints & swimming in the waterfall.
Hike difficulty: pretty easy hike on a well-maintained trail. There are metal steps allowing to easily go down to the waterfall. The very last part of the trail from the final viewpoint to the waterfall can be challenging if there’s a lot of water, be careful of the slippery stones.
Hike elevation: 144 meters downhill from the first viewpoint (472 feet), for a total of 188 meters (944 feet).
Hiking Down to the Waterfall
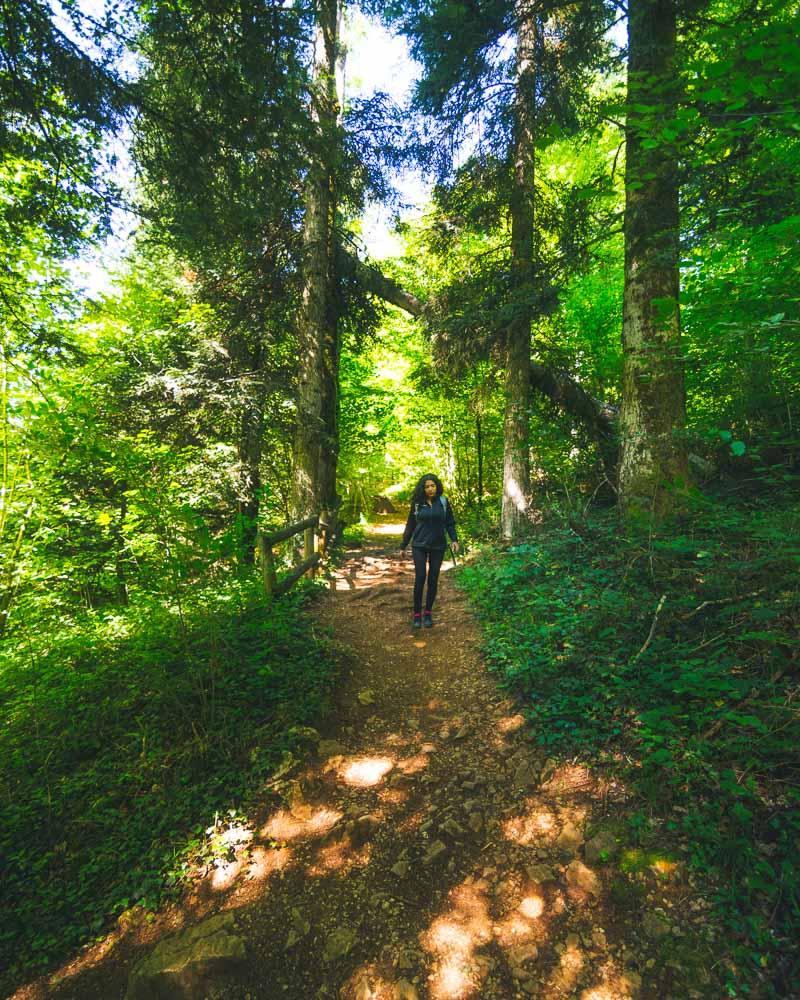
After taking a few pictures at the first viewpoint, we were ready to hike all the way down to the waterfall. The first part of the hike is clearly signed, and you can’t get it wrong; just follow the trail.
It starts easy with a dirt trail in the forest, with a gentle incline.
After a few minutes it starts to get steep, and that’s when you get to a metal staircase. The stairs are pretty nice, and it allows to get down quickly. It was dry when I was there, but I can see the stairs getting slippery when it’s wet, so make sure to grab the handrail when you get down.
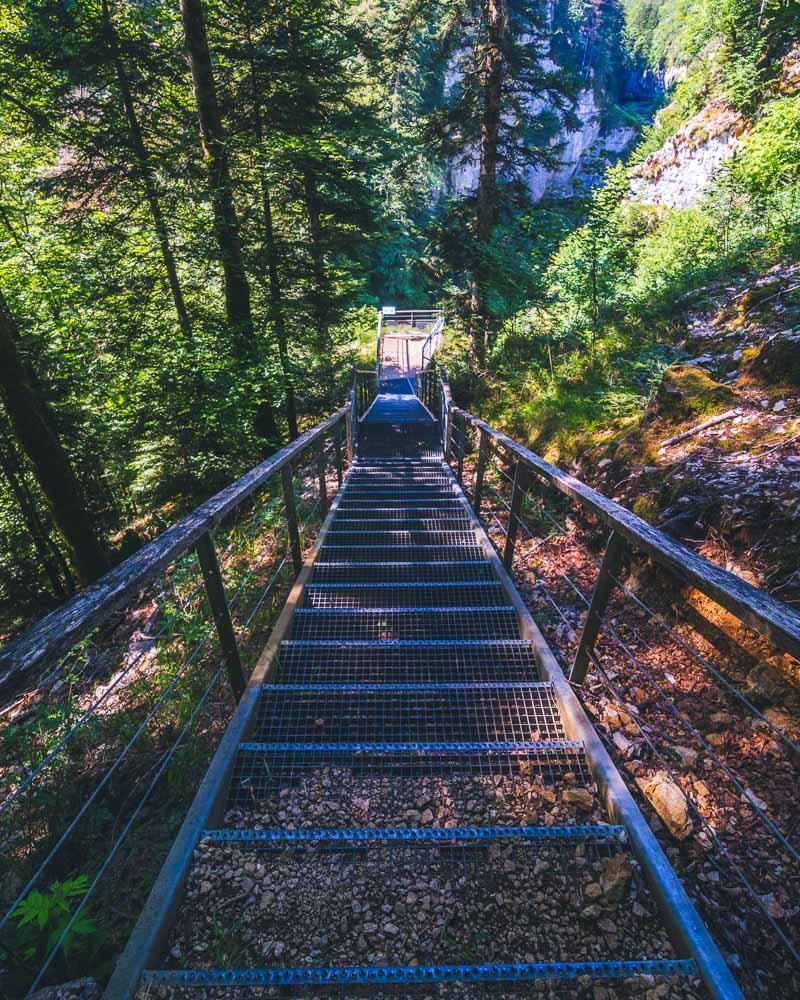
At the bottom of the stairs is the second viewpoint. From there you get a slightly elevated view over the waterfall, and you’re right in front of them.
As we got to the waterfall late in the morning, the sun was already out and shining on the valley. For the best photos, I’d recommend going early in the morning to get the whole area in the shade.
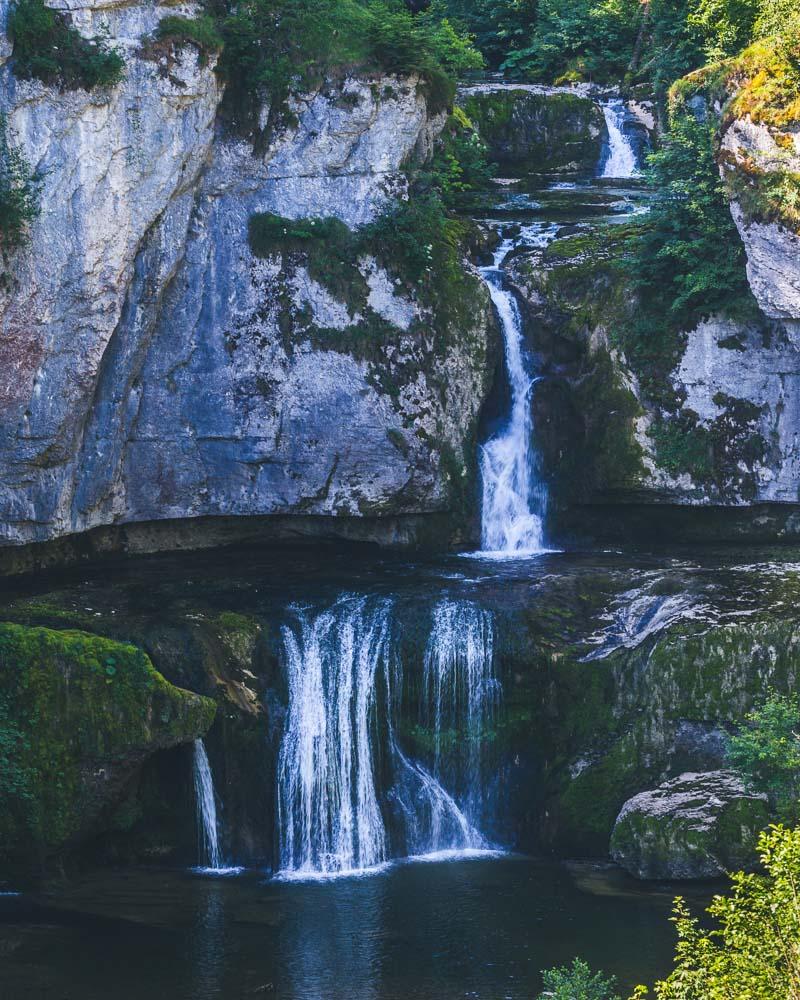
From the second viewpoint you have another set of stairs that will lead you down to the third and final viewpoint. The stairs become wooden steps at the bottom, so I made sure to step on the wooden part to avoid the wet parts in between the steps.
The third viewpoint is where you have the waterfall at eye level, and probably the best spot for photos. I spent a bit of time on the platform setting up my tripod to get the best photos, but all worth it 🙂
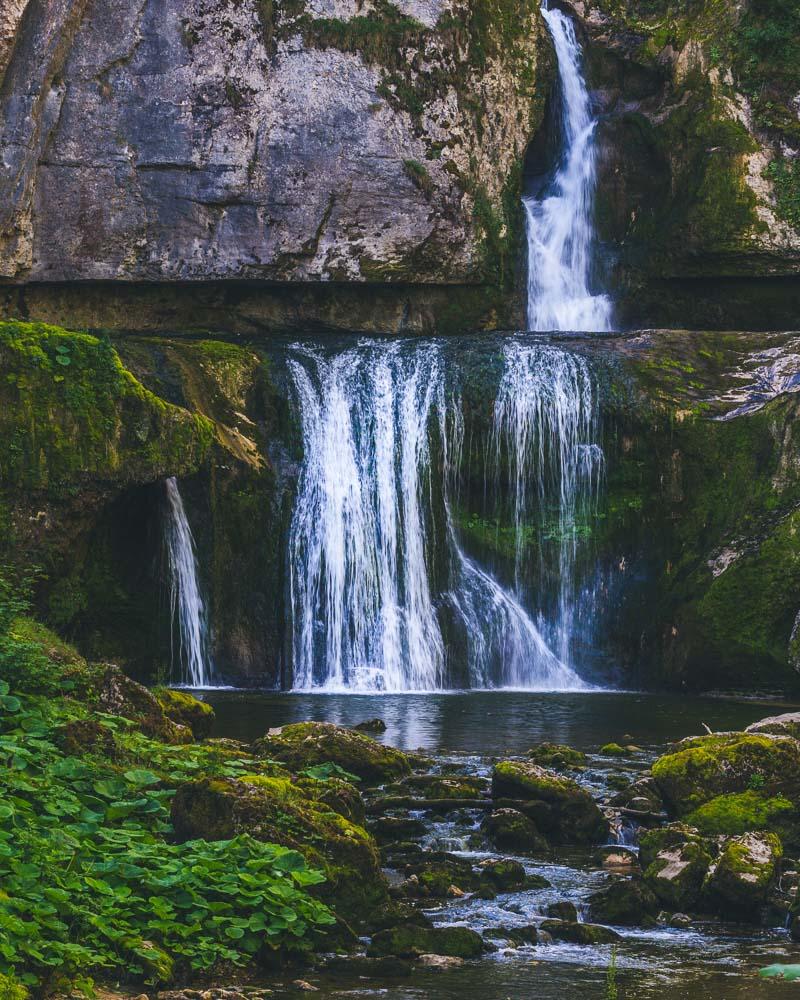
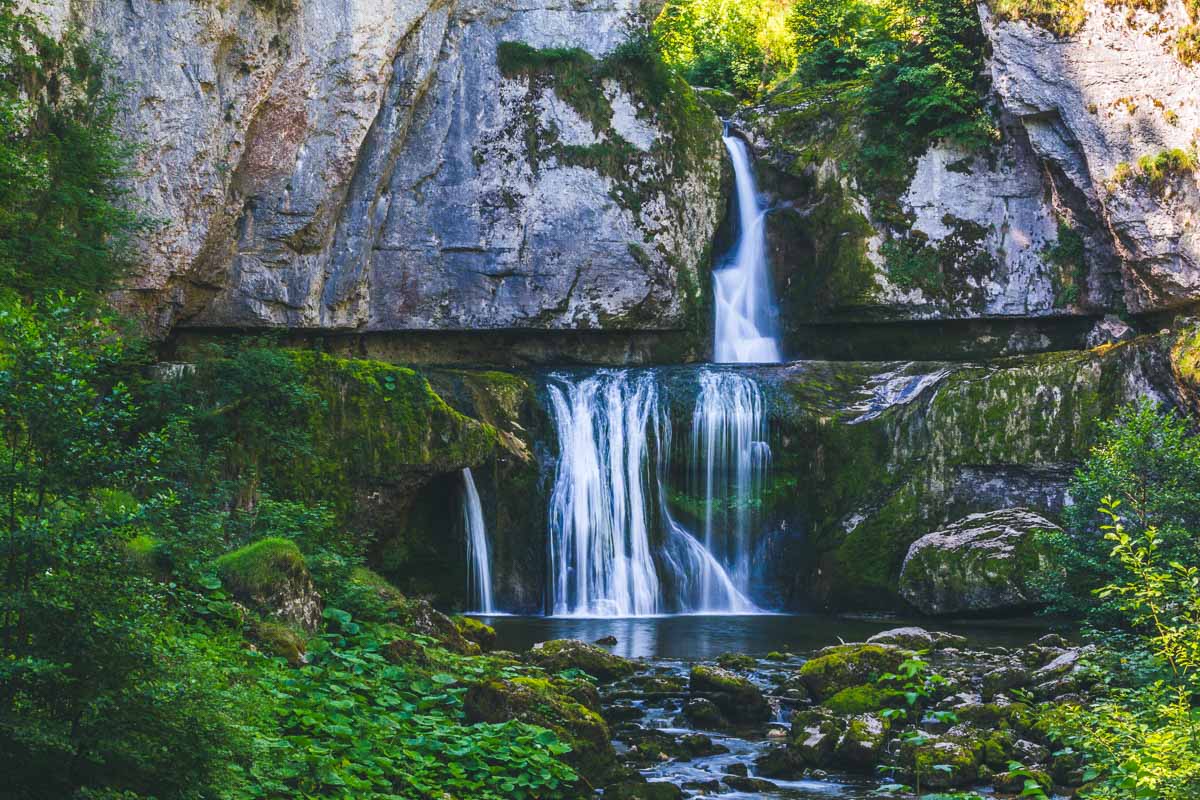
The final part of the trail to reach the waterfall is where the “official” trail ends. We got past the viewing platform, and walked in the mud and on stones.
It was getting slippery at this point, and we were trying to not step in puddles. We walked below the cliff, going from stones to stones in the water, to finally reach the end.
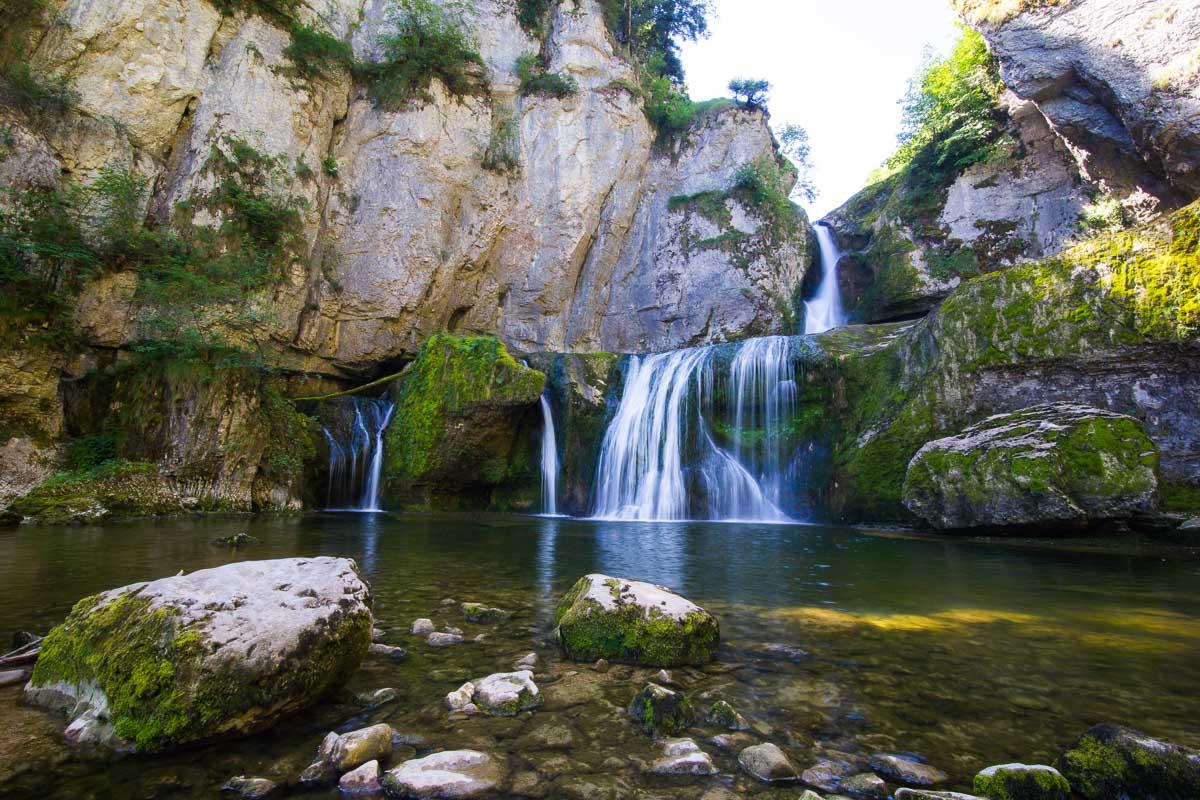
Of course you can simply take off your shoes, and walk in the water. Or take off your clothes and swim in the waterfall, that works too!
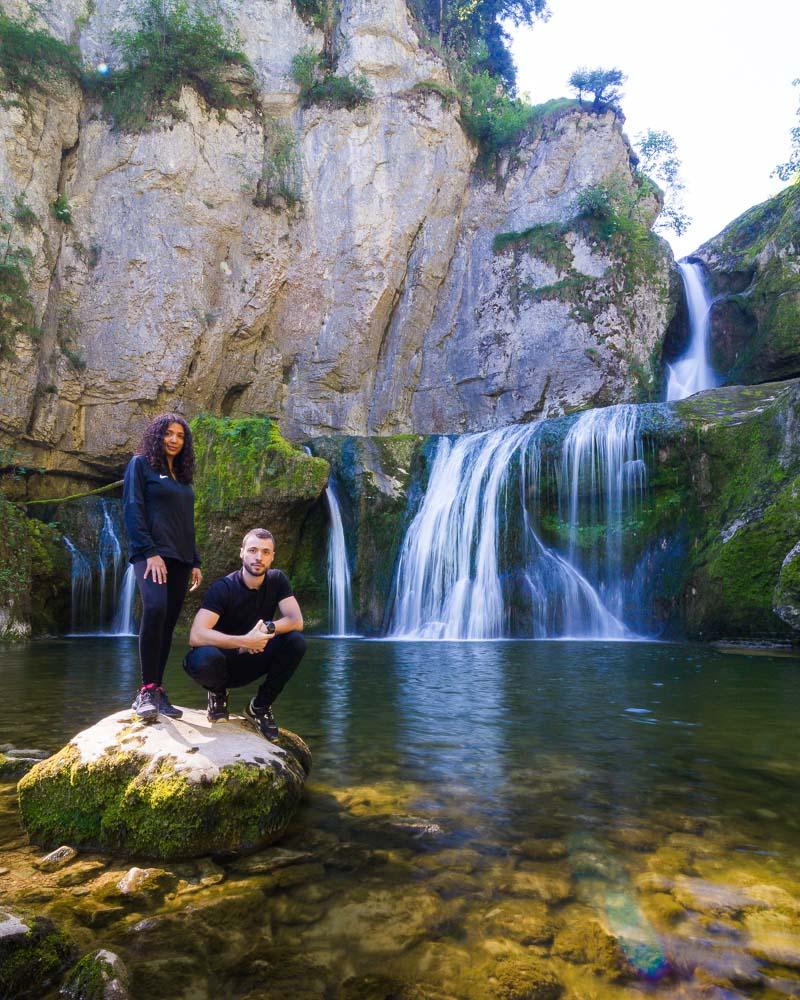
Nesrine and myself in front of the waterfalls
The journey back up is a loop, so you’ll simply go back from where you came from. The climb is steep, and you’ll probably need to catch your breath a few times before reaching the top! Or power through the whole thing to get your cardio going, that’s what I did. Yep, I was drenched in sweat when I got to the car, but oh well.
Visit Jura
Planning your trip to Jura? You’ll find below a few other travel guides & key spots to see in the area.
More cool waterfalls in Jura:
The best hikes around:
The BIG guides:
I hope you enjoy your trip to Jura and to France; if you have any questions, let me know in the comments below, I always reply.
Help a fellow traveler and share this guide with the buttons below!
Travel Tools
Use any of our recommended links below to book your trip. You pay the same, and we earn a small fee; a great way to support us!
Pin this to Pinterest!
Enjoyed this guide? Then help a fellow traveler and pin it! They'll most definitely love you for it, 100% guarantee.
